MVP Module - Adding multiple contributions
In the following post I’ll describe how to add multiple contributions on the Microsoft MVP portal using the MVP PowerShell module.
You might be interested to take a look at my previous MVP PowerShell module post where I demoed how to backup all your entries into one or multiple files.
Requirements
In order to use the MVP PowerShell module, you’ll need to install it from the gallery and configure your connection to the Microsoft MVP Api webservice.
All this information is available on this post: MVP PowerShell module post
Creating one contribution entry
To create an entry you can use the New-MVPContribution function. This function comes with the following parameters:
[[-StartDate] <string>]
[[-Title] <string>]
[[-Description] <string>]
[[-ReferenceUrl] <string>]
[[-AnnualQuantity] <string>]
[[-SecondAnnualQuantity] <string>]
[[-AnnualReach] <string>]
[[-Visibility] <string>]
-ContributionTechnology <string>
-ContributionType <string>
For example we can do the following:
New-MVPContribution -StartDate '2017/09/15' `
-ContributionTechnology PowerShell `
-ContributionType 'Conference (organizer)' `
-Title 'PowerShell Saturday (Paris/September2017)' `
-Description "Full day of PowerShell :)" `
-ReferenceUrl 'https://meetup.com/FrenchPSUG/events/239169341/'
Output
ContributionId         : 810803
ContributionTypeName   : Conference (organizer)
ContributionType       : @{Id=ef6464de-179a-e411-bbc8-6c3be5a82b68;
                         Name=Conference (organizer); EnglishName=Conference
                         (organizer)}
ContributionTechnology : @{Id=7cc301bb-189a-e411-93f2-9cb65495d3c4;
                         Name=PowerShell; AwardName=; AwardCategory=}
StartDate              : 2017-09-15T00:00:00
Title                  : PowerShell Saturday (Paris/September2017)
ReferenceUrl           : https://meetup.com/FrenchPSUG/events/239169341/
Visibility             : @{Id=100000000; Description=Microsoft and
                         Contributor; LocalizeKey=}
AnnualQuantity         : 1
SecondAnnualQuantity   : 0
AnnualReach            : 0
Description            : Full day of PowerShell :)
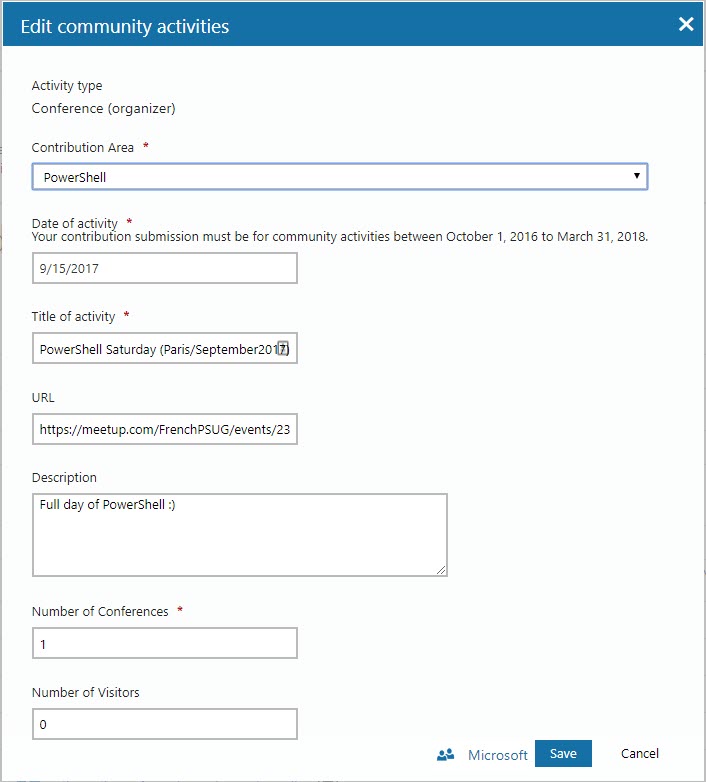
This will create the following entry in the Microsoft MVP portal.
Now let’s look at the important parameters.
ContributionType and ContributionTechnology Parameters
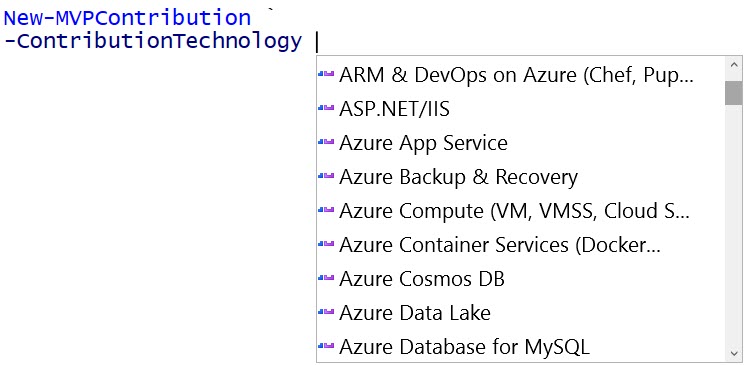
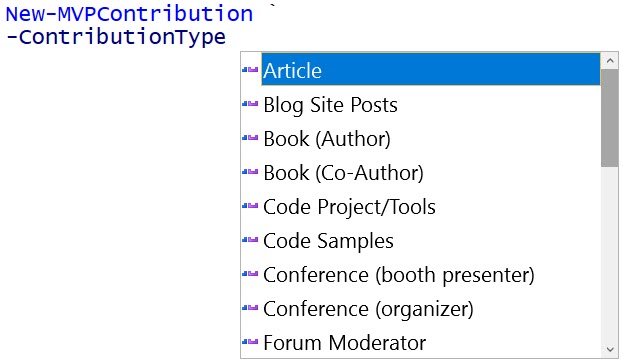
The function New-MVPContribution contains two dynamic parameters for the parameters -ContributionType and -ContributionTechnology.
This means that the possible values will show as you type them.
ContributionTechnology parameter in action:
ContributionType parameter in action:
Visibility parameter
When creating an entry you can choose who can see it. By default the value is set to Microsoft. Here are all the possible values:
EveryOne, (Everyone can see)Microsoft, (Only Microsoft can see)MVP Community, (Microsoft and MVP Community can see)Microsoft Only(Seems to be similar toMicrosoft)
Creating multiple contribution entries
To make the creation of your multiple entries simple, we can use Excel to build our list of contributions. Make sure you have valid ContributionType, ContributionTechnology and Visibility values, and you should be good to go.
Note that your file need to be in CSV format so PowerShell can work with it.
Example of CSV file in Excel:
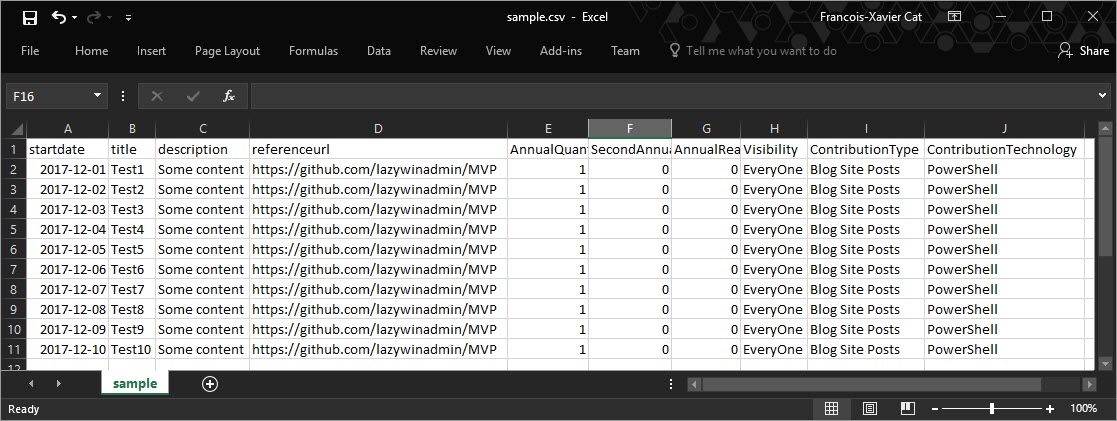
Here is the sample that I’m using (You can copy and paste it into notepad and save it as a CSV file. You should then be able to open and edit it in Excel).
startdate,title,description,referenceurl,AnnualQuantity,SecondAnnualQuantity,AnnualReach,Visibility,ContributionType,ContributionTechnology
2017-12-01,Test1,Some content,https://github.com/lazywinadmin/MVP,1,0,0,EveryOne,Blog Site Posts,PowerShell
2017-12-02,Test2,Some content,https://github.com/lazywinadmin/MVP,1,0,0,EveryOne,Blog Site Posts,PowerShell
2017-12-03,Test3,Some content,https://github.com/lazywinadmin/MVP,1,0,0,EveryOne,Blog Site Posts,PowerShell
2017-12-04,Test4,Some content,https://github.com/lazywinadmin/MVP,1,0,0,EveryOne,Blog Site Posts,PowerShell
2017-12-05,Test5,Some content,https://github.com/lazywinadmin/MVP,1,0,0,EveryOne,Blog Site Posts,PowerShell
2017-12-06,Test6,Some content,https://github.com/lazywinadmin/MVP,1,0,0,EveryOne,Blog Site Posts,PowerShell
2017-12-07,Test7,Some content,https://github.com/lazywinadmin/MVP,1,0,0,EveryOne,Blog Site Posts,PowerShell
2017-12-08,Test8,Some content,https://github.com/lazywinadmin/MVP,1,0,0,EveryOne,Blog Site Posts,PowerShell
2017-12-09,Test9,Some content,https://github.com/lazywinadmin/MVP,1,0,0,EveryOne,Blog Site Posts,PowerShell
2017-12-10,Test10,Some content,https://github.com/lazywinadmin/MVP,1,0,0,EveryOne,Blog Site Posts,PowerShell
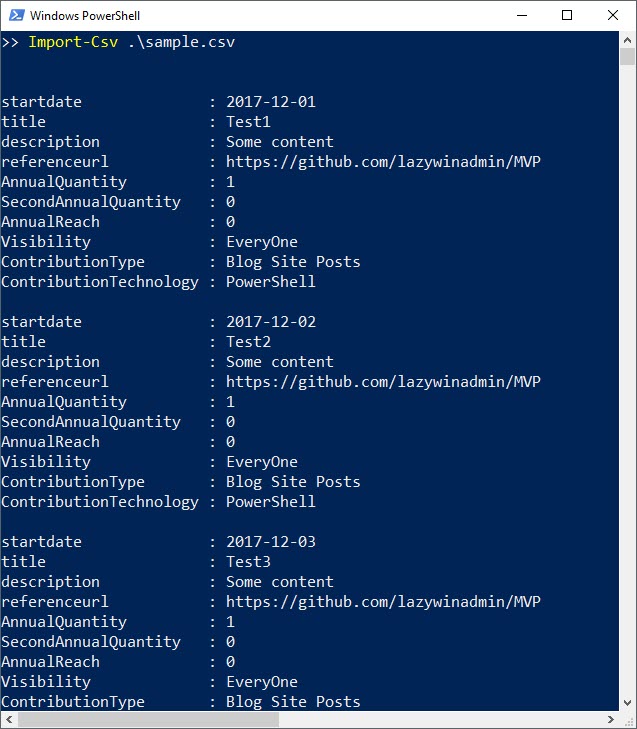
We can validate the file load property by using Import-CSV
Import-CSV .\Sample.csv
Creating the entries
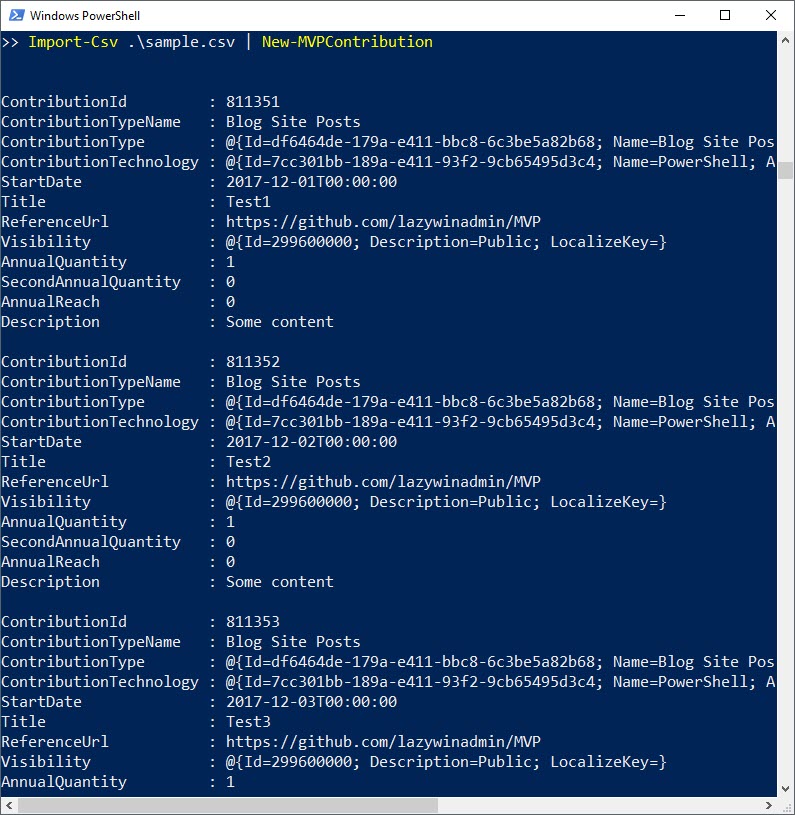
Finally we can import all our entries by piping the entries to New-MVPContribution
# Importing multiple contributions at once
import-csv .\Examples\MultipleEntries.csv | New-MVPContribution
This should give you the following output:
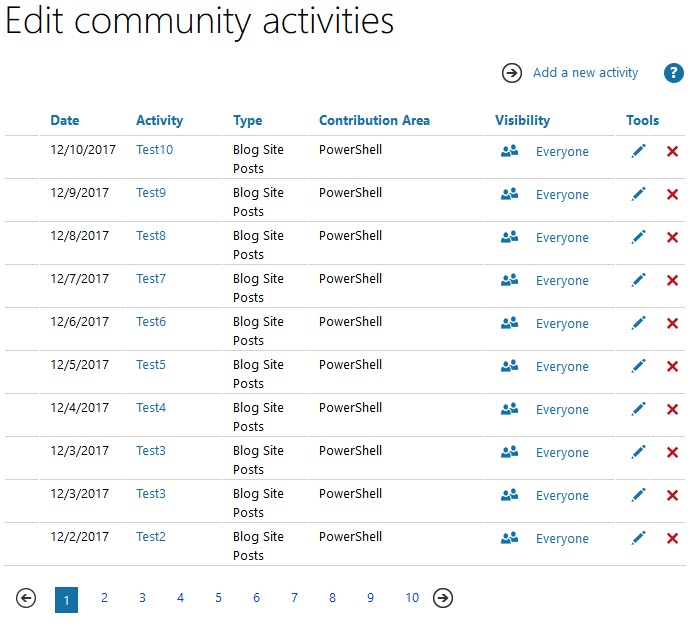
Here is the result on the Microsoft MVP website:

Leave a comment