.
5 - Select the System Center 2012 Orchestrator features to install. Here I leave the default selection.Click
.
.
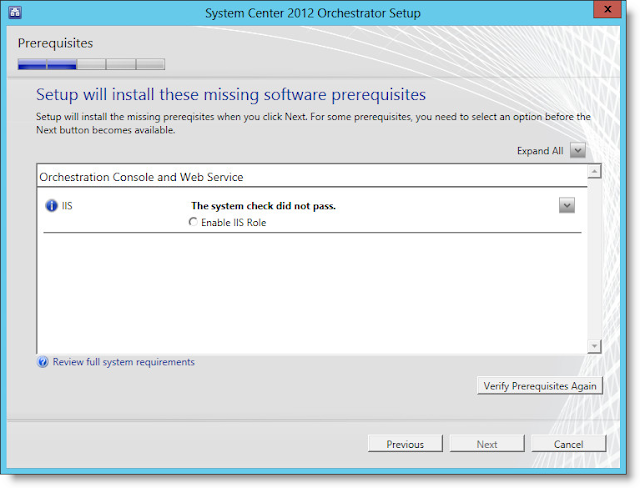
7 - If one
Prerequisiteis missing you'll get the following display. Tick the "
Enable IIS Role" and click on
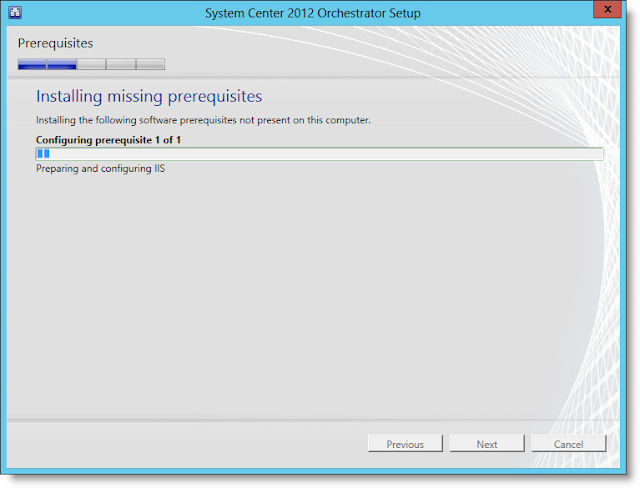
Next. SCO Setup will automatically install the missing role or feature.
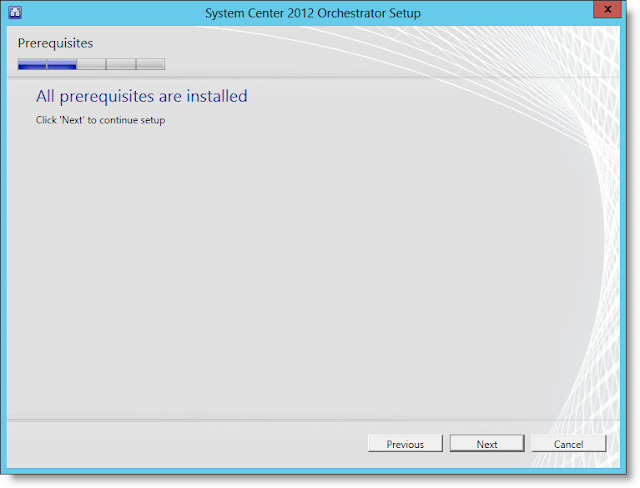
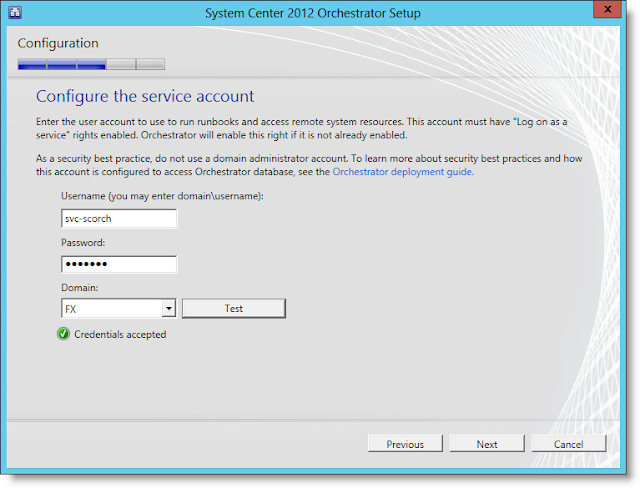
8 - Once installed, you'll have to specify the
Service account for System Center Orchestrator.
Ensure this is a success and click
Next.
9 -
Configure the database server connection, Type the local computer name if you installed SQL on this server or provide a remote SQL server (and instance if using a named instance) to which you have the System Administrator (SA) Rights in order to create the System Center Orchestrator database and assign permissions to it. Test the database connection and click
Next.

10 -
Configure Orchestrator Users Group. Browse Active Directory and select the domain global group created
ScorchUsers. Click
Next.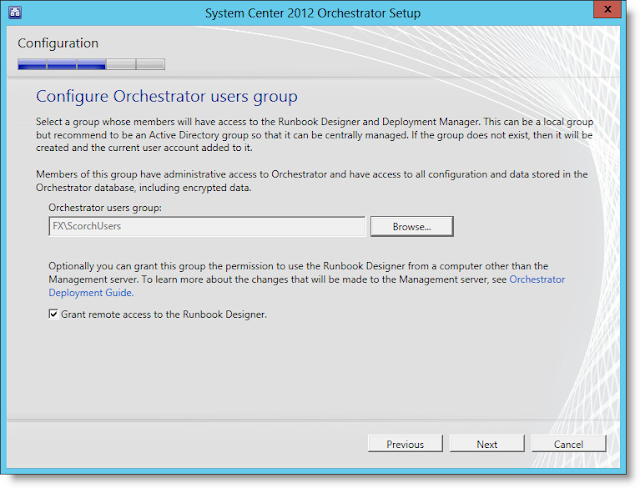
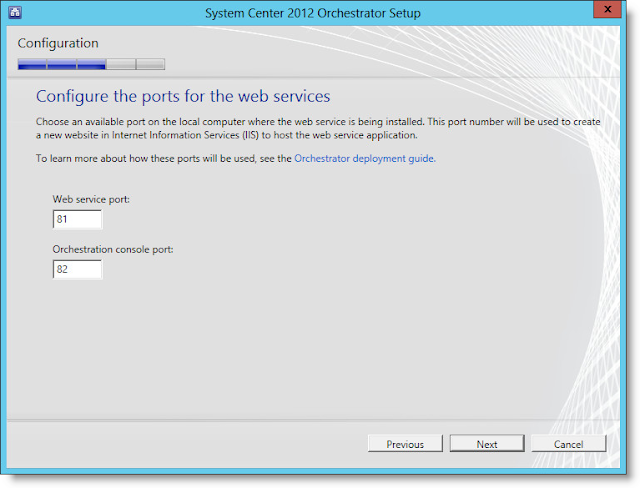
11 - Accept the defaults Web Service ports 81 and 82. Click
Next
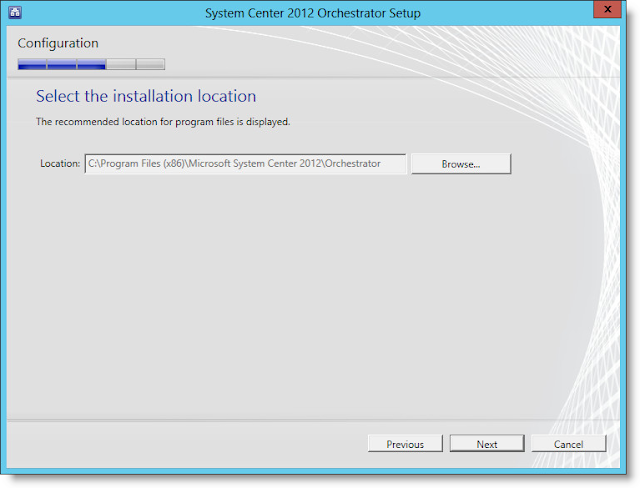
12 - Accept the default installation location. Click
Next
13 - Select the appropriate options for Microsoft Update and Customer Experience. Click
Next


14 - Finally click
Next and the Installation will start. The setup will install all the roles and create the Orchestrator database. This process should be very quick.
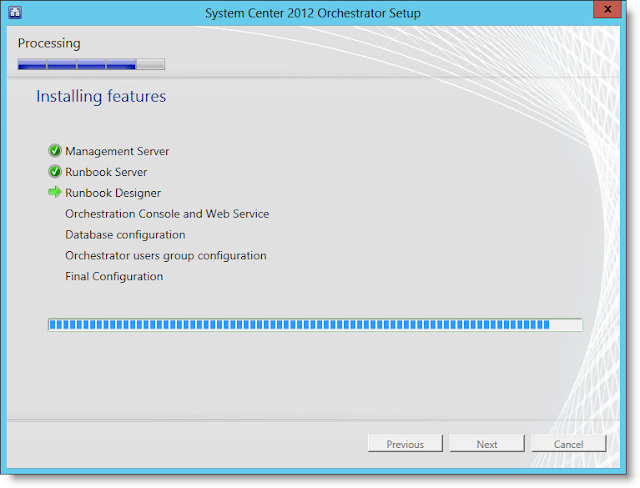
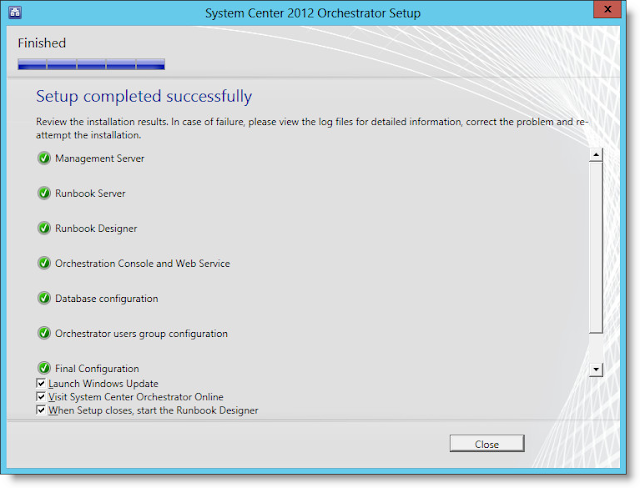
15 - Once completed, you'll see the following display.Click
Close when you are done.
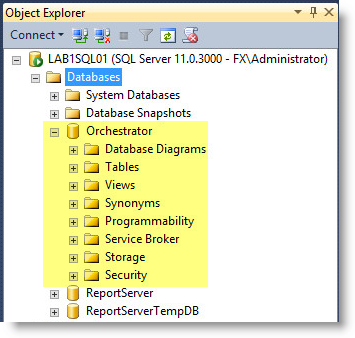
You can open SQL Management Console and see that the Orchestrator database has been created.
16 - Verify your consoles open successfully.
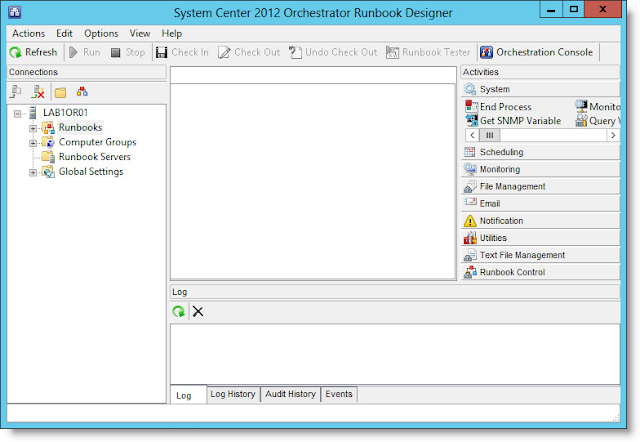 |
| Runbook Designer |
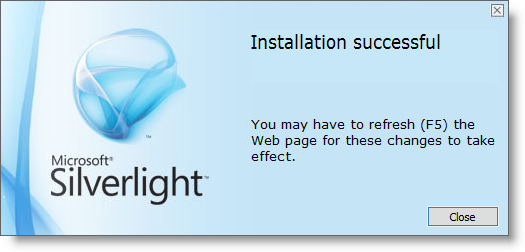 |
| Orchestrator Console will require Microsoft Silverlight |
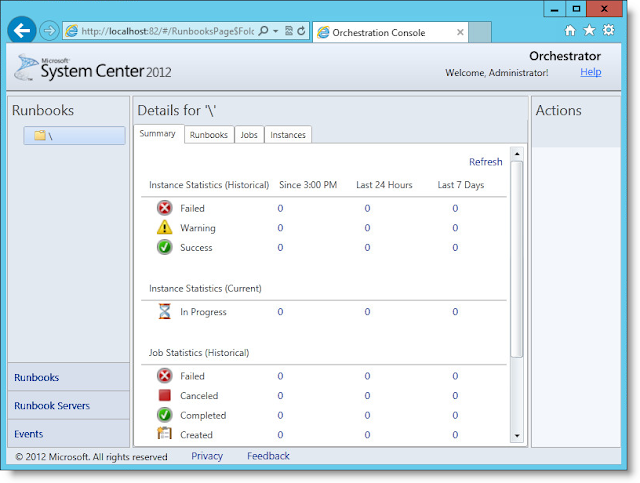 |
| Orchestrator Console http://localhost:82 |
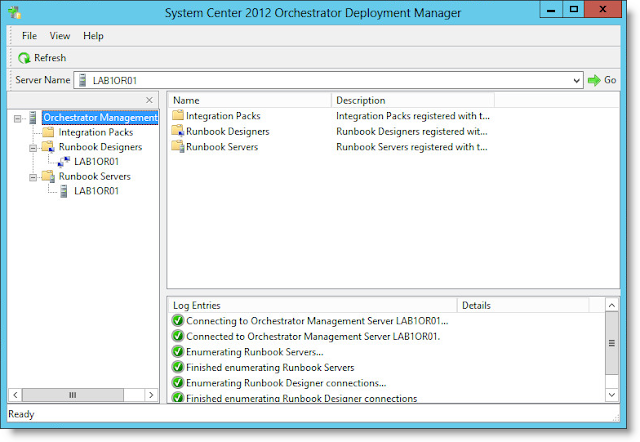 |
| Deployment Manager |

 If you did not install .Net Framework 3.5 yet, you'll get the following warning
 2 - Install the .Net Framework 3.5 Features in the Server Manager console.


 5 - Select the System Center 2012 Orchestrator features to install. Here I leave the default selection.ClickNext.
 6 - The Setup wizard will check if you have all the prerequisites.ClickNext.


 8 - Once installed, you'll have to specify the Service account for System Center Orchestrator.
Ensure this is a success and click Next.
 9 - Configure the database server connection, Type the local computer name if you installed SQL on this server or provide a remote SQL server (and instance if using a named instance) to which you have the System Administrator (SA) Rights in order to create the System Center Orchestrator database and assign permissions to it. Test the database connection and click Next.

 11 - Accept the defaults Web Service ports 81 and 82. Click Next
 12 - Accept the default installation location. Click Next
 13 - Select the appropriate options for Microsoft Update and Customer Experience. Click Next


 15 - Once completed, you'll see the following display.ClickClose when you are done.
 You can open SQL Management Console and see that the Orchestrator database has been created.
 16 - Verify your consoles open successfully.


Leave a comment